3. Editing Layout Manually
If the layout recognition has not performed as expected or you want to draw it layout elements in yourself, you can create and correct all these elements manually
Previous step: Advanced Layout Configuration Settings
If you are preparing to train a baseline, field, or table model, it may be necessary to create a customised layout for complex or diverse documents.
Furthermore, if the automatic recognition does not meet your requirements, manual corrections may be necessary, particularly for documents with complex layouts.

For example, during the process of manually transcribing or correcting the automatic transcription, it is possible to encounter empty regions, lines that are too short, or instances where the automatic recognition has identified two lines instead of one.
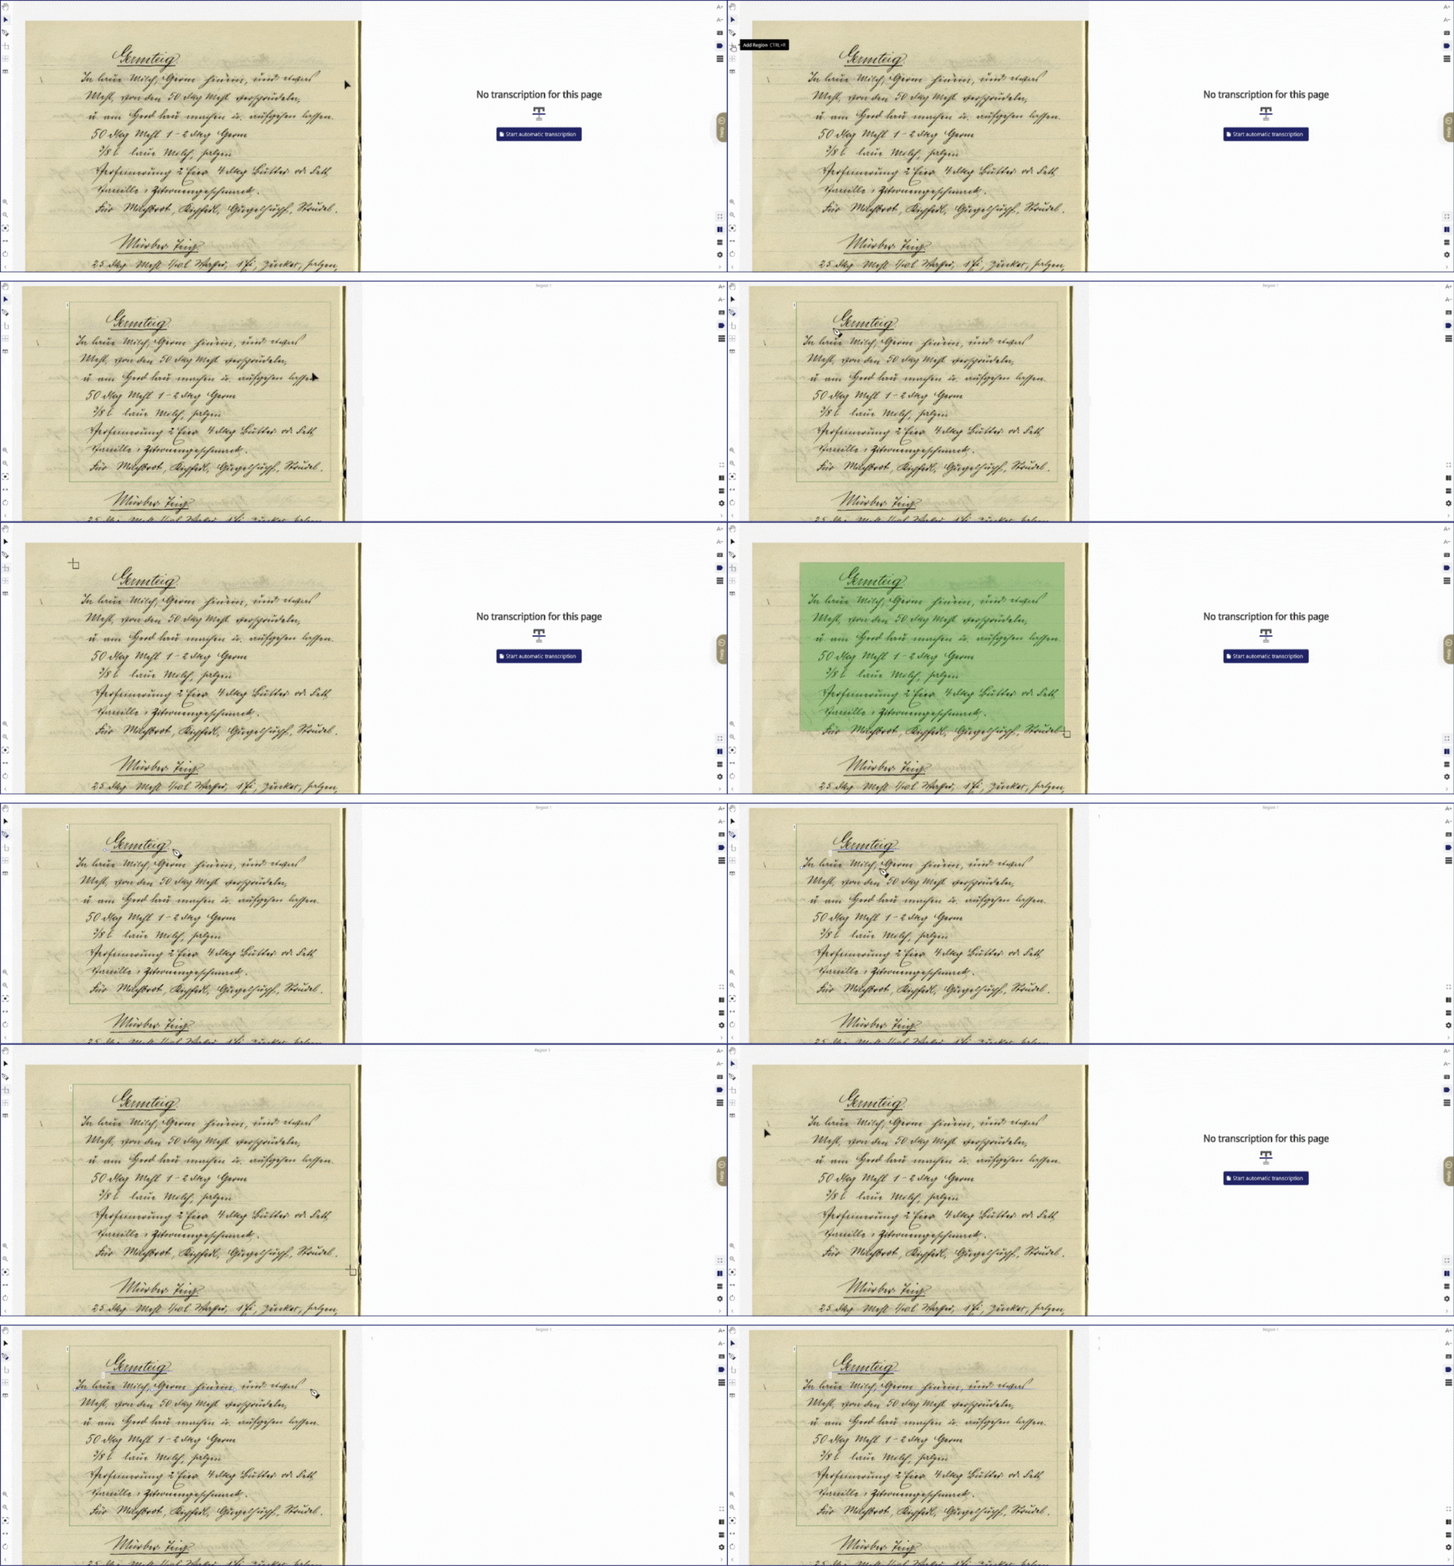
To edit the layout, open the page. The Transkribus Document Editor shows the image and the text, on the right or below the image, according to your viewing preferences. In the top left corner of the editor, you will find the buttons to add a new line, region, and table.
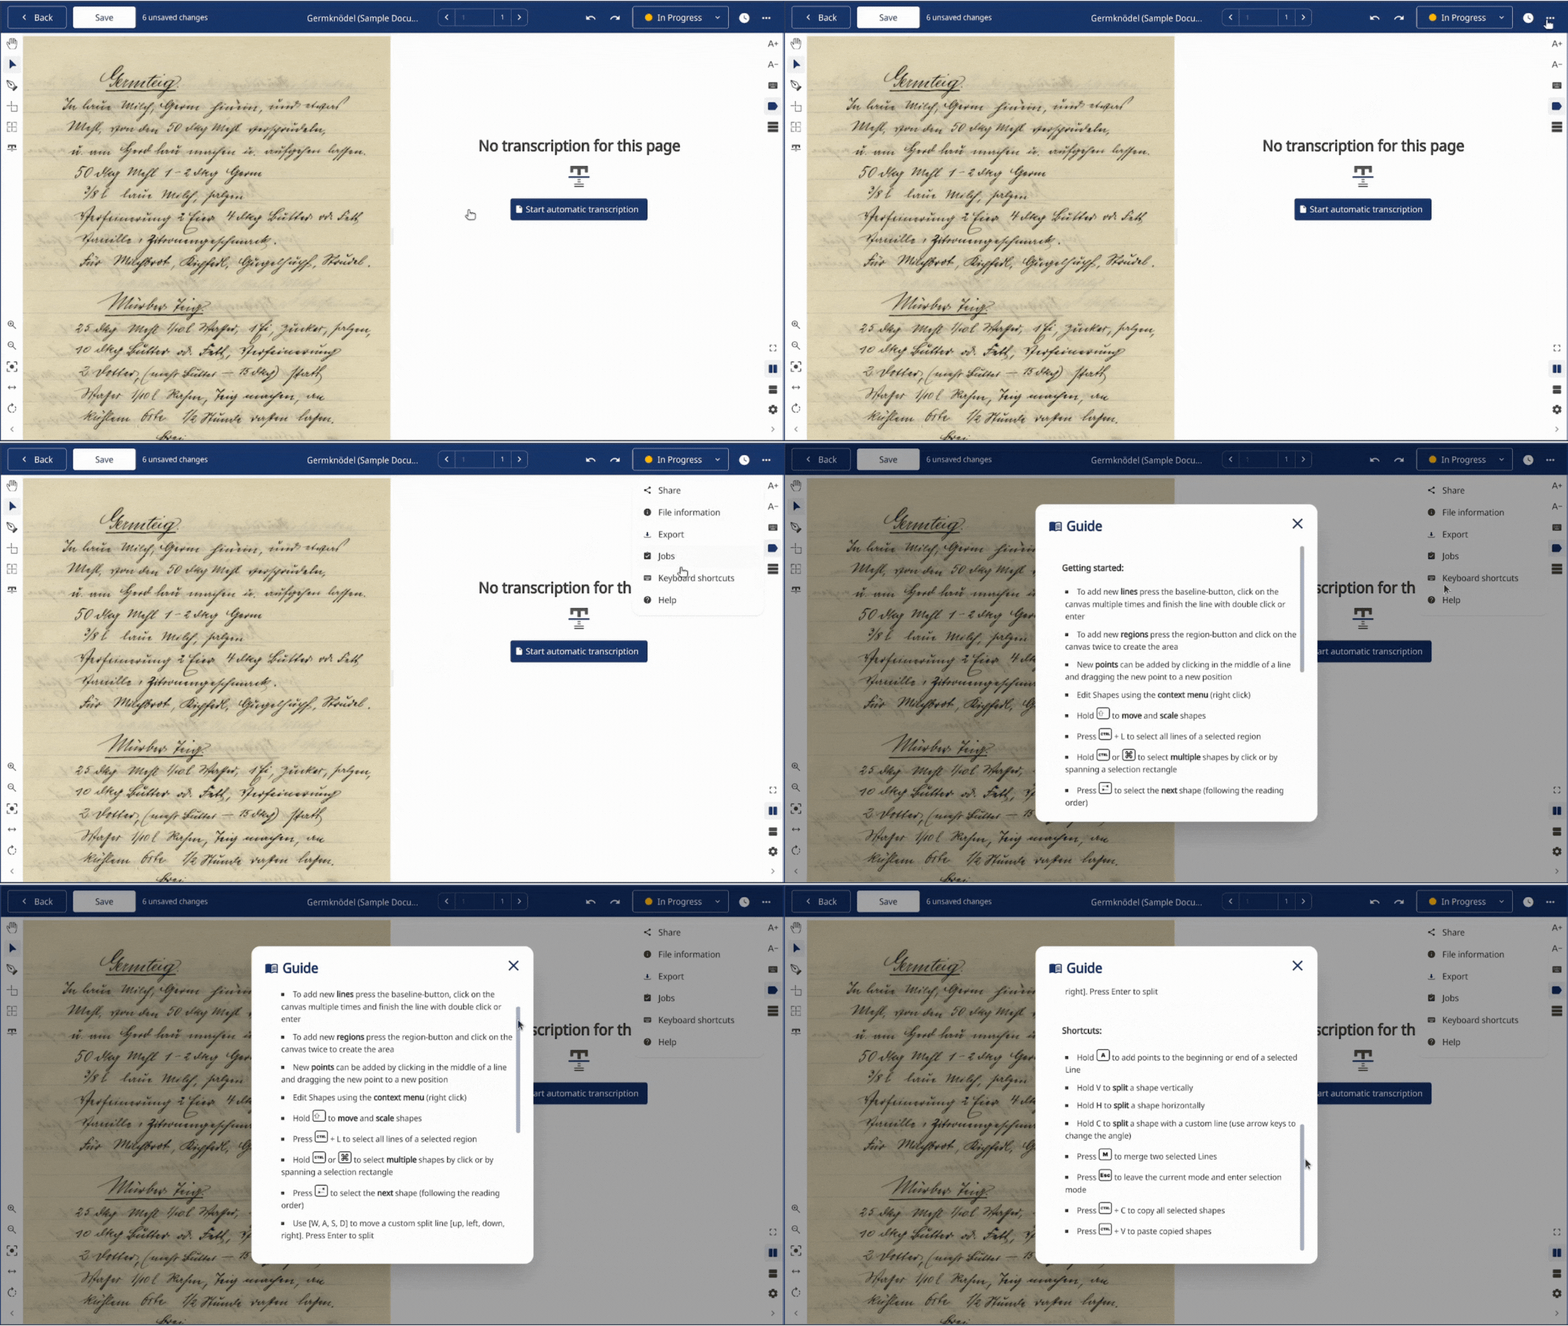
To learn more about all the available editing options, you can access the Guide. Simply click on the three-dot icon located at the top right of the web page and select Keyboard shortcuts. This guide will provide you with detailed explanations and instructions on how to utilise these editing features effectively.

- To add new text regions, press the region button, click on the image once to open up the region and then click again to create the specific area where the text should be located
- To add new lines, press the line button, click on the image multiple times, and finish the line with a double click or enter

- New points can be added by clicking in the middle of a line and dragging the new point to a new position
- Press DEL to delete a selected shape
- Hold SHIFT to move and scale shapes
- Press CTRL+L to select all lines of a selected region
- Hold CTRL or Command to select multiple shapes by clicking or by spanning a selection rectangle
- Press TAB to select the next shape (following the reading order)
- Select a line and hold A to add points to the beginning or end of it
- Select a shape and hold V to split it vertically
- Select a shape and hold H to split it horizontally
- Select a shape and hold C to split it with a custom line (use arrow keys to change the angle); hold C+CTRL and use arrow keys to draw more precise angles
- Press M to merge two selected lines
- Press ESC to leave the current mode and enter selection mode
- Press CTRL+C to copy all selected shapes
- Press CTRL+V to paste copied shapes (to the same page or a new one)
It is also possible to edit a shape using the context menu that appears when you right-click on a shape. To find the full list of shortcuts, click on the three-dot icon located at the top right of the web page and select Keyboard shortcuts.
Next step: Baselines Models
Transkribus eXpert (deprecated)
Sometimes it may be necessary to make some manual corrections to automate layout recognition, especially when the layout of your documents is complex.
When manually transcribing or correcting the automatic transcription, you may notice some empty regions, some lines too short, or the automatic recognition has detected two lines instead of one.
To correct the layout, use the Canvas Menu (to the left of the image). Most of the common edits are:
- Modify the shape of a text region: click inside the region so that it is highlighted, and drag the border of the text region as needed.
- Split a shape into two: you can use the Split Shapes buttons in the Canvas Menu. The “H-button” splits the shape horizontally. The “V” button splits it vertically. The “L-button” allows you to split it with a customisable line.
- Delete a shape: click on the shape you wish to delete, and click the red “Remove a shape” button in the Canvas Menu.
- Merge two shapes: sometimes, the automatic layout analysis creates two shapes where only one is needed. In this case, you can easily merge the two together. Hold down the “CTRL” button on your keyboard and select both shapes (they need to be the same type of shape). Click the “Merges the selected shapes” button in the Canvas Menu.
- Add a text region: click the “+TR” button in the Canvas Menu. Click once to start drawing your region and double-click to finish it.
- Add a line: click the “+L” button in the Canvas Menu. Click once to start drawing your line and double-click to finish it.
- Add a baseline: click the “+BL” button in the Canvas Menu. Click once to start drawing your baseline and double-click to finish it.
- Correct baselines: click on one point of the baseline and drag it to the new position. Remember that baselines are most important for HTR and it is important that they run at the bottom of the words; lines do not need to be corrected.
